Japanese
 | iPad |
iPad (iOS 5)
This document explains how to create a Postman email account on iPad. This tutorial describes using iPad iOS5.1.1. Screen design may be different depending on the version of the software.
Basic Configuration
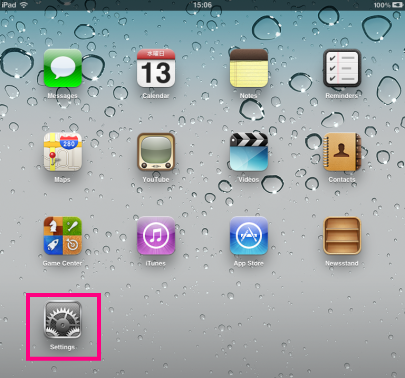
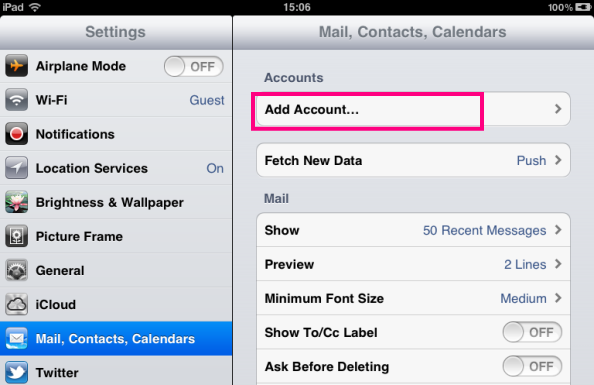
- Select “Settings” on the Home screen and then tap “Mail, Contacts, Calendars” and “Add Account..“.
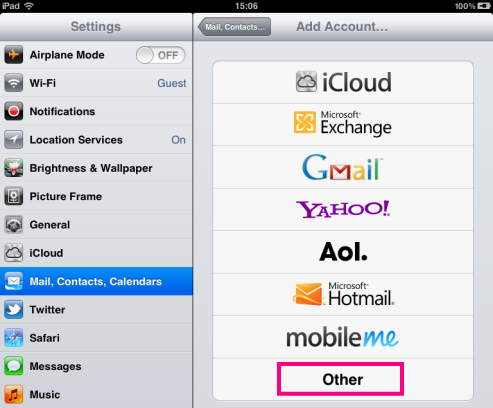
- Tap “Other“
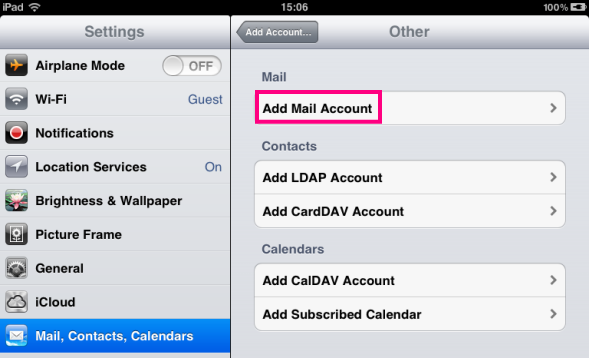
- Tap “Add Mail Account”
- Set up your Account information
Name at your will. This name is to be displayed in the “From:” field in messages you send Email Your Postman email address including “@riken.jp” Password Your Postman password Description at your will. This text is used to distinguish from other accounts. 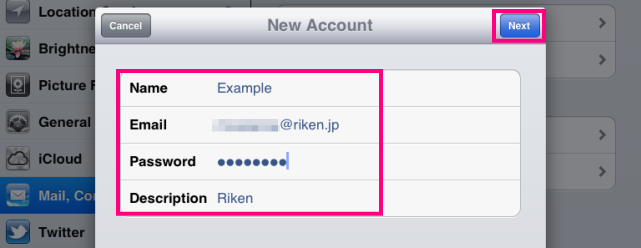
- First, select the protocol you want to use to get messages. Tap either POP or IMAP. Then enter the Incoming/Outgoing server information.
- POP(POPS) : Messages will be downloaded on your iPad
- IMAP (IMAPS) : You access directly to the server mailbox when read messages.
Choose the protocol (IMAP or POP) previous to filling out Server information.
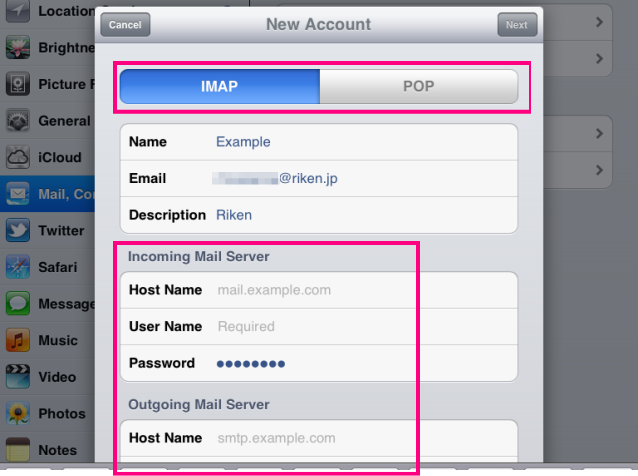
- Enter as follows for both Incoming and Outgoing Servers. This information is common for both IMAP and POP.
Host Name postman.riken.jp User Name Your Postman email account, which is the xxxx part of your Postman email address xxxx@riken.jp. Password Your Postman password 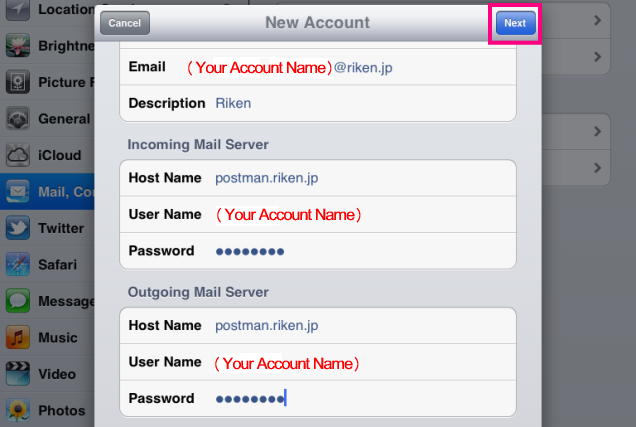
- Verification starts.
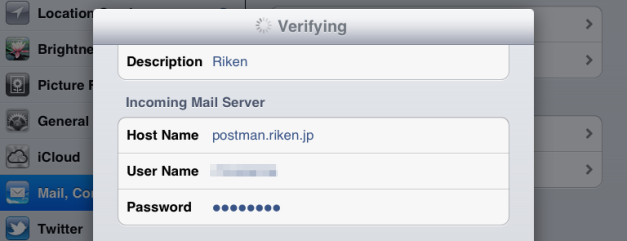
Save the account information anyway regardless of whether an error message is displayed. Tap “Save“. You can correct the settings afterwards as shown below.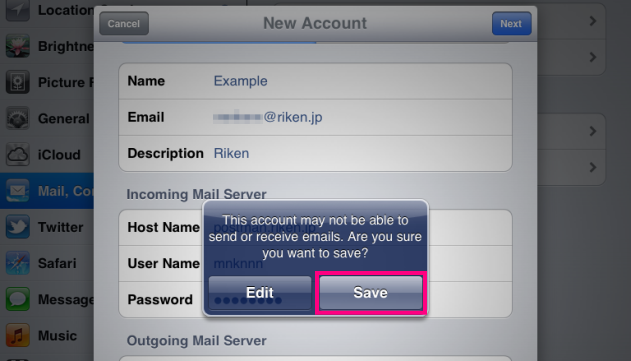
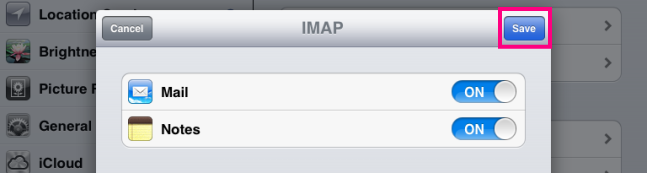
- Tap “Save“. (This screen appears only when you’ve selected IMAP.)
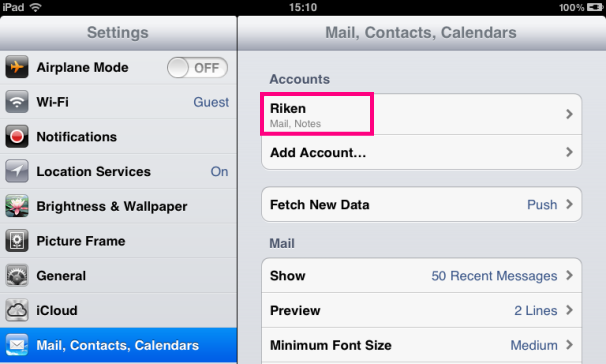
- The screen will back to the Settings View. IMAP account is noted “Mail, Notes” and POP account “Mail”)
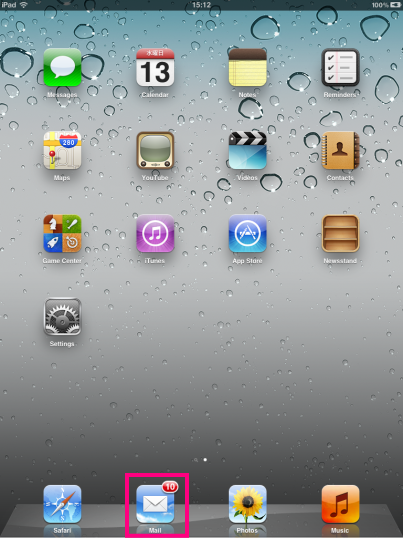
- Return to the Home screen. You can start “Mail” by tapping the icon.
![]()
Please Check Out Below if you cannot send or receive message.
Check Out the settings for Outgoing and Incoming server.
- Select “Settings” on the Home screen, tap “Mail, Contacts, Calendars” and choose the Postman account you want to re-configure.
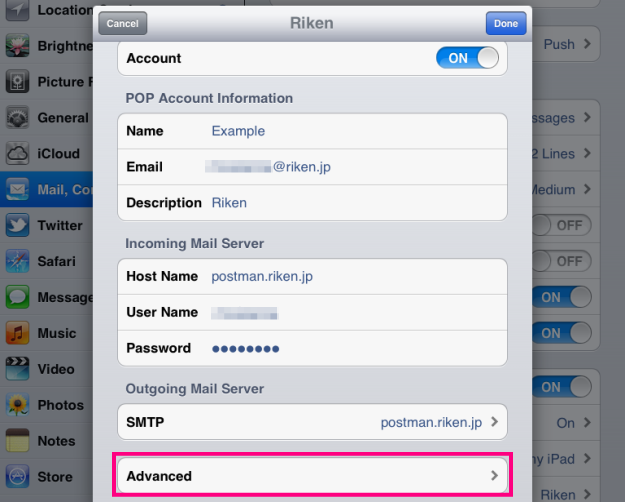
- This will appear if you’ve selected IMAP. (not with POP.) Tap “Account”
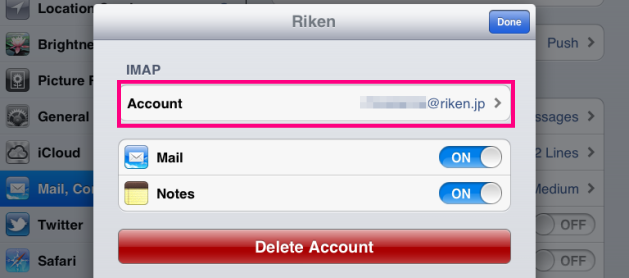
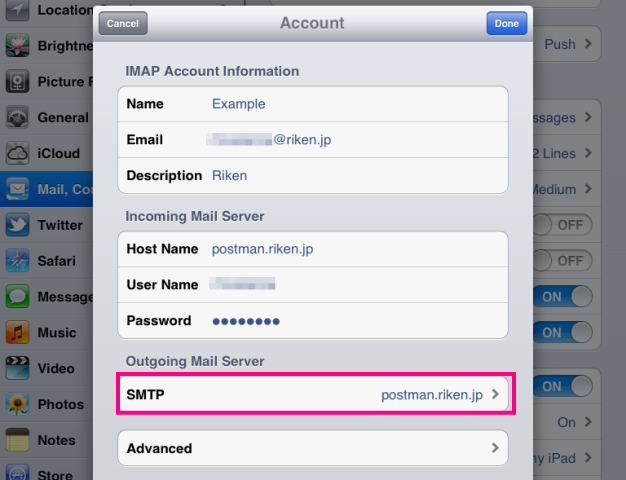
- Tap “ SMTP postman.riken.jp > ” to confirm the Outgoing Server settings.
- IMAP account view
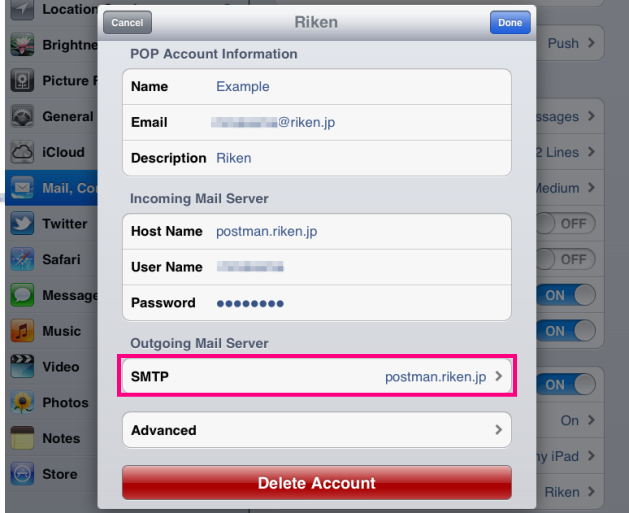
- POP account view
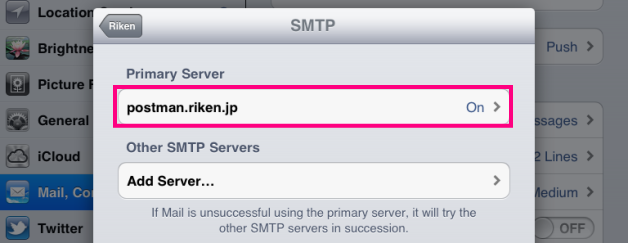
- IMAP account view
- Tap “postman.riken.jp” (After this step, the same goes with IMAP and POP if not mentioned. )
- Check Out that the following are applied and if not, correct the setting.
Use SSL ON Authentication Password Server Port 465 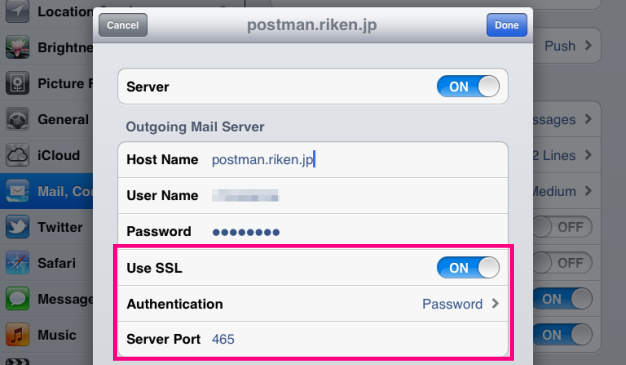
- Back to the step 3 and tap “Advanced” to check out the Incoming Server settings.
- Check Out that the following are applied and if not, correct the setting.
- IMAP account
Use SSL ON Authentication Password Server Port 993 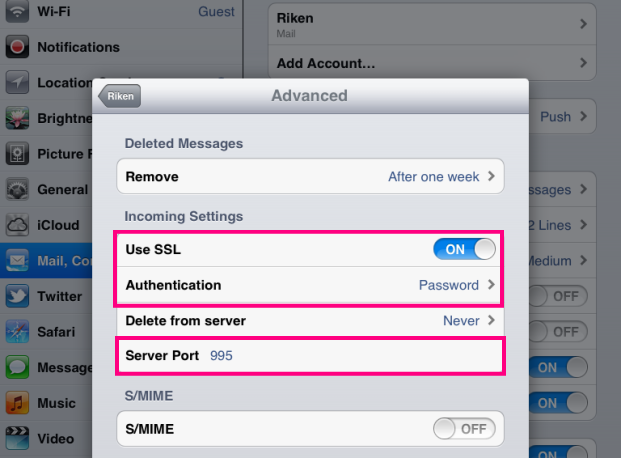
- POP account
Use SSL ON Authentication Password Server Port 995 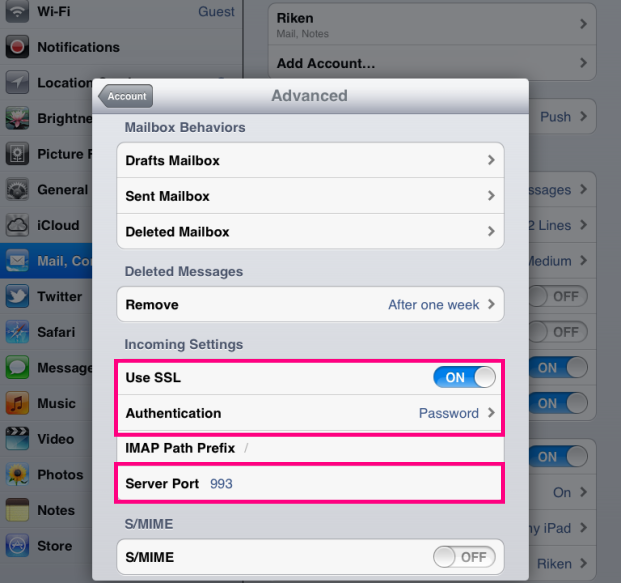
- IMAP account